
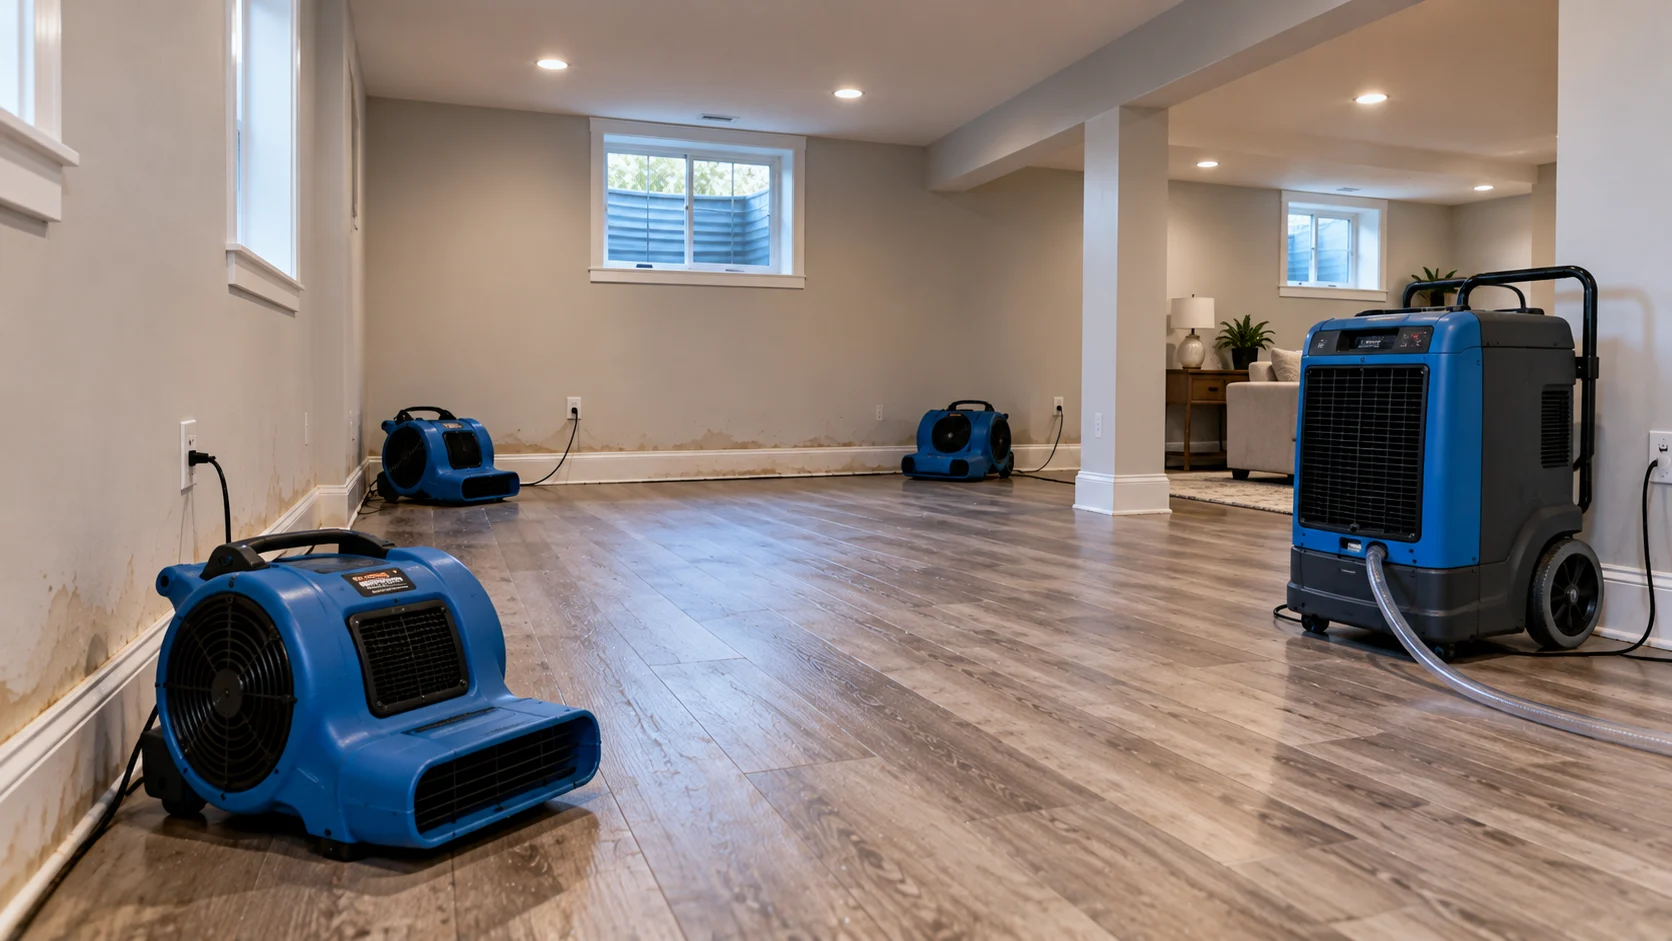
Moisture, Water Damage, and Mold Prevention: How to Stop Mold from Coming Back
Having mold removed should help you feel more comfortable in your home. If a musty smell returns or another patch appears, it’s understandable to wonder what went wrong. Do you need more remediation? Is something still leaking? Will you have to open the walls again?
Those questions deserve a proper investigation. Repeated cleaning without understanding the moisture problem can leave you dealing with the same uncertainty months later.
In our conversation with Tina, Spotless’s co-owner, she kept returning to one point: homes can have several moisture problems happening at once. Finding one leak doesn’t necessarily mean you’ve found everything that needs attention.
That’s why mold prevention involves decisions throughout the project, from the initial assessment to drying, repairs, and ongoing maintenance. Some are straightforward, such as checking humidity. Others need help from restoration professionals, plumbers, roofers, or building specialists.
This guide explains what to look for, what to do after water damage, and what to ask before your home is put back together. For homeowners across Lexington and Central Kentucky, the aim is practical: understand what’s keeping the home damp and address it thoroughly.
- Why Mold Comes Back After Cleanup
- Find the Moisture You Can't See
- What to Do After Water Damage to Reduce the Risk of Mold
- Monitor Humidity Throughout Your Home
- Check Basements, Crawl Spaces, and Attics
- Before Rebuilding, Check That the Problem Is Resolved
- Keep Moisture Control Part of Your Home's Routine
Why Mold Comes Back After Cleanup
Mold needs moisture to grow. When a cleanup removes affected materials but damp conditions continue, the home can still support another outbreak. The important question is where that moisture is coming from and whether it’s been adequately addressed.
The scale of the issue is worth recognizing. In the 2023 American Housing Survey, 3.9 million occupied U.S. housing units reported mold during the previous 12 months. That’s a reported housing condition, rather than a count of professionally confirmed infestations, but it shows how many households encounter this concern.
Tina cautions against assuming there’s always one simple explanation:
“And I think a lot of people have this misconception that when they have a mold outbreak taking place inside of an indoor living environment, that it’s due to just one thing. And that’s often not the case.”
Tina Craig
A roof leak might explain one wet ceiling while a plumbing issue affects another room. An area may have been remediated successfully, then become wet again during a separate incident. High humidity can also continue after damaged materials have been removed.
Mold prevention starts with understanding those possibilities. It shouldn’t depend on finding someone to blame. A homeowner may have had no reasonable way to know what was happening behind finished walls, and a new problem doesn’t automatically establish that earlier remediation was inadequate.
Ask what was found, which moisture sources were identified, and what work was completed to correct them. If the explanation stops at treating the visible patch, there may still be questions to answer about the surrounding materials and building conditions.
When you call, explain whether the mold has returned in exactly the same place or appeared somewhere new. Also mention how long the area stayed dry after the earlier work and any changes you’ve noticed since.
It’s also worth distinguishing between removal and repair. The remediation scope may address contamination, while a plumber, roofer, or foundation specialist handles the cause of the moisture. Knowing who’s responsible for each part helps prevent important work from being missed.
Our professional mold remediation in Lexington begins with understanding the affected areas and planning appropriate work. Tell us about previous leaks, repairs, musty smells, or recurring dampness, even if they seem unrelated to the mold you’ve noticed today.
Mold coming back after cleanup? Contact Spotless to discuss what’s changed and what needs investigating.
Find the Moisture You Can’t See
Leaks Aren’t Always Obvious
A burst pipe usually announces itself. A slow leak inside a wall can be much harder to recognize. The finished surface may reveal very little about the condition of the materials behind it.
Tina recommends using a remediation project as an opportunity to investigate the building carefully, particularly while affected areas are accessible:
“And many people are astounded once the home gets opened up during the mitigation to discover that they actually had other issues going on.”
Tina Craig
That doesn’t mean every homeowner needs every specialist. It means matching the investigation to the evidence. A roof-related concern needs a roofer’s input; suspected foundation water entry needs someone qualified to assess that problem.
Ask how the proposed investigation will narrow down the cause. You should understand why a particular area needs opening or a specialist needs involving. That conversation helps you make informed decisions when several repairs are being discussed at once.
How Brick Can Contribute to Hidden Moisture
One less familiar issue Tina discusses is moisture moving inward from rain-wetted masonry.
Brick can absorb water. When sunlight heats wet brick, it can drive water vapor inward through the wall assembly. Under some conditions, moisture can accumulate within the wall or condense on cooler materials. Building scientists call this solar-driven inward vapor movement, a mechanism described in U.S. Department of Energy building guidance.
Local weather makes rain management relevant. NOAA’s 1991–2020 climate normals for Lexington Bluegrass Airport show 49.84 inches of normal annual precipitation. That figure includes precipitation generally, rather than rainfall alone.
It doesn’t follow that every brick house has hidden mold. Wall design, flashing, drainage, material choices, and drying capacity all influence what happens. If masonry moisture is suspected, a qualified professional should assess the assembly before recommending a water-repellent treatment or other changes.
Warning Signs Worth Investigating
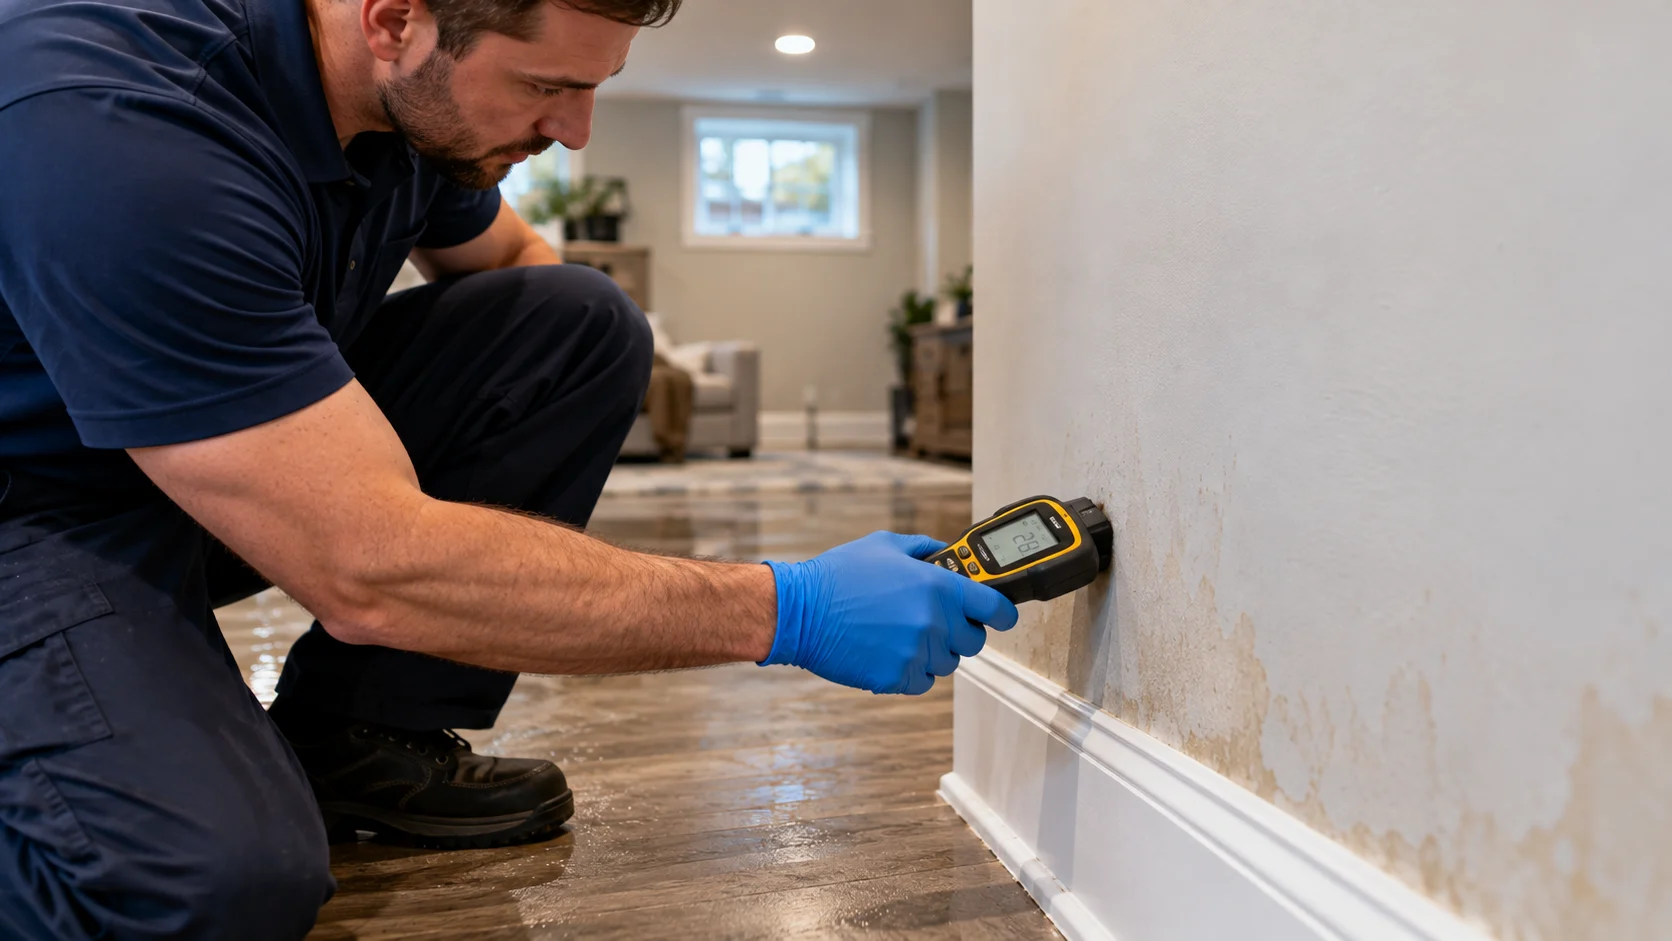
Tina describes discovering moisture damage behind drywall after homeowners noticed soft wallboard, changes around openings, or swelling near the base of a wall.
Other concerns worth mentioning during an assessment include a recurring musty smell, dampness after rain, or trim that starts separating from the wall. None proves mold is present, and none identifies the cause on its own.
For mold prevention, these changes are reasons to investigate before repainting or covering the area. Keep a note of when you notice them and whether they follow rain, plumbing use, or changes in weather. Photographs can help explain the pattern without disturbing suspect materials yourself.
Noticed soft drywall, recurring dampness, or a musty smell? Ask Spotless about an assessment before you cover it up.
What to Do After Water Damage to Reduce the Risk of Mold
Water damage needs prompt attention, even when the affected area looks manageable. The Insurance Information Institute reports a $15,400 weighted average water damage and freezing claim for 2019–2023 in its homeowners insurance dataset. That’s an insurance-claim average, not a mold remediation price or a promise about coverage.
Tina emphasizes the importance of moving quickly:
“Mold can start to overtake or colonize inside of a home within twenty-four to forty-eight hours.”
Tina Craig
The EPA’s water damage guidance recommends responding within 24–48 hours to help prevent mold. Conditions vary: growth can occur within that window, and wet materials don’t invariably become moldy immediately afterward. Don’t treat it as time you can safely wait before taking action.
Start With These Steps
- Check that the area is safe. Stay out if water may have reached electrical equipment, the ceiling is sagging, or the structure appears unsafe. Sewage and floodwater require professional handling. Don’t enter water to reach a breaker or appliance.
- Stop the source if you can do so safely. Shut off the appropriate water supply for a plumbing leak. Arrange professional help for roofing problems rather than climbing onto a wet or damaged roof.
- Contact a restoration professional promptly. Explain where the water came from, when you discovered it, and which rooms or materials seem affected. Mention any existing mold or previous water damage.
- Protect accessible belongings where safe. Move dry items away from the affected area. For a small, clean-water spill without electrical hazards, towels may help remove accessible water while you arrange assistance. Don’t attempt this with contaminated water.
- Arrange suitable extraction and drying. Tina recommends dehumidification as an important early measure when professional help can’t arrive immediately. Equipment choice depends on the conditions; ask the restoration team what you can safely do while waiting.
- Check what the water reached. Moisture can remain beneath flooring or inside walls after exposed surfaces seem dry. Professional water extraction and structural drying includes assessing affected materials and monitoring progress.
A note about fans: Don’t point household fans at visible mold or use them indiscriminately around contaminated water. EPA advises establishing that water is clean or sanitary before using fans. Air movement needs to suit the contamination and drying conditions.
Mold prevention after water damage depends on reaching the wet materials and drying them appropriately. Removing the puddle is an early step; it doesn’t establish that everything underneath is dry.
If you discover damage after being away, be clear that the starting time is uncertain. Tell the restoration team when the area was last known to be dry. Avoid assuming the problem began at the moment you first noticed it.
Dealing with a leak or flooded room? Call Spotless promptly for help with water removal and drying.
Monitor Humidity Throughout Your Home
A humidity monitor in the living room can be useful, but its reading tells you about that location. It won’t necessarily reflect conditions upstairs, downstairs, or in the crawl space.
Tina frequently encounters homeowners relying on one monitor for the entire property:
“But they do need to be watching their humidity levels on all floors of the home and in their crawl spaces.”
Tina Craig
An inexpensive hygrometer measures relative humidity in the surrounding air. Place monitors where their readings will help you understand the spaces you’re concerned about, following the manufacturer’s placement instructions.
Tina also suggests comparing inexpensive monitors side by side. If their readings differ substantially, investigate before trusting either one. A third monitor may help reveal a discrepancy, although agreement between devices doesn’t establish that they’re properly calibrated. Check batteries and the manufacturer’s accuracy or calibration guidance.
For an indoor benchmark, the EPA recommends keeping relative humidity below 60%, ideally between 30% and 50% where possible. These are general targets. Cold surfaces can still collect condensation even when a room’s average humidity seems reasonable.
Watch for changes over time. Does humidity climb after showers? Does the basement remain damp when the main floor feels comfortable? Is there condensation on windows during cold weather? Those observations help you decide what needs investigating.
An occasional reading is a snapshot. Repeated checks can help you describe a pattern, especially when readings change with weather or household activities. You can then discuss the problem with more useful information than a single number.
If readings stay elevated, check a few practical things:
- Is the dehumidifier running and draining properly?
- Are its filters and other serviceable parts maintained as instructed?
- Are bathroom and kitchen exhaust systems removing moisture outdoors?
- Could a leak or wet building material still be adding moisture?
- Are open windows bringing humid outdoor air into the space?
Tina is a strong advocate for dehumidification, including whole-home systems. The appropriate setup depends on the property, its moisture load, and how it’s used. A dehumidifier doesn’t repair a roof leak or remove existing mold.
Ongoing humidity control supports mold prevention, but air readings and material-moisture readings answer different questions. A comfortable room reading doesn’t confirm that damp wood or enclosed drywall has dried.
If you’re unsure what your readings mean, keep a simple record of the location, reading, weather, and any visible condensation. Bring that information when you ask for help with your home’s indoor air quality. Keep that information with the records from your remediation project.
Humidity staying high despite your efforts? Talk to Spotless about the moisture conditions and suitable next steps for your home.
Check Basements, Crawl Spaces, and Attics
Mold prevention needs to include spaces you rarely visit. A comfortable bedroom or living room doesn’t tell you whether the materials beneath the floor or above the ceiling are staying dry.
Tina encourages homeowners to involve the right building specialists when the evidence points beyond the visible damage:
“You want those people to come in and help you to discern whether or not you have other things going on.”
Tina Craig
Basements: Investigate Where the Water Comes From
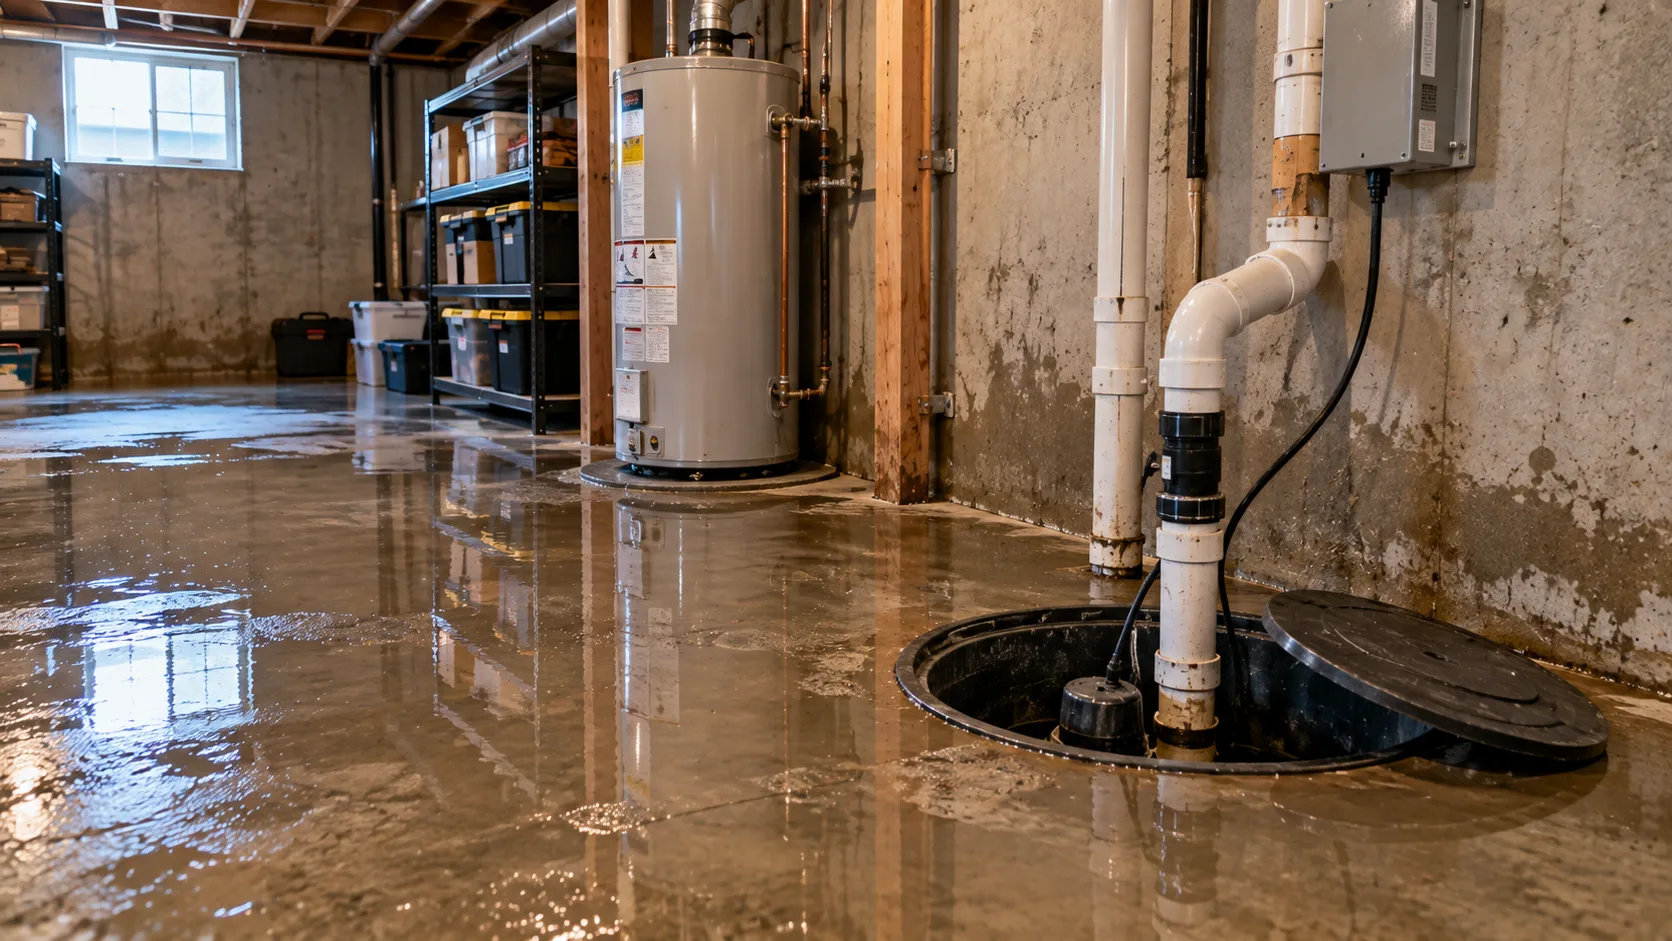
A damp basement may involve plumbing, outside drainage, foundation water entry, condensation, or several conditions together. Notice whether dampness follows rain, appears around a pipe, or develops on cooler surfaces.
The Building America Solution Center’s basement and crawl space assessment guidance recommends investigating both interior and exterior moisture sources before renovation. Gutters, downspouts, grading, plumbing, and mechanical-equipment drainage can all warrant attention.
Running a dehumidifier may help manage the air while the cause is assessed, but persistent water entry needs an appropriate repair. Read more about why basement mold develops and how to prevent it.
Crawl Spaces: Don’t Leave Moisture Unchecked
Tina specifically includes crawl spaces in her humidity-monitoring advice. Their position beneath the home makes them easy to overlook until odors or damage draw attention.
Bare ground can release moisture into the space. Plumbing leaks, poor drainage, damaged ground coverings, and humid outdoor air can contribute too. The solution needs to reflect which conditions are present.
Federal building guidance on crawl space water management describes drainage and ground vapor-control measures as parts of a coordinated approach. Covering the soil doesn’t resolve every source of standing water.
Attics: Look at the Roof, Air Leaks, and Insulation
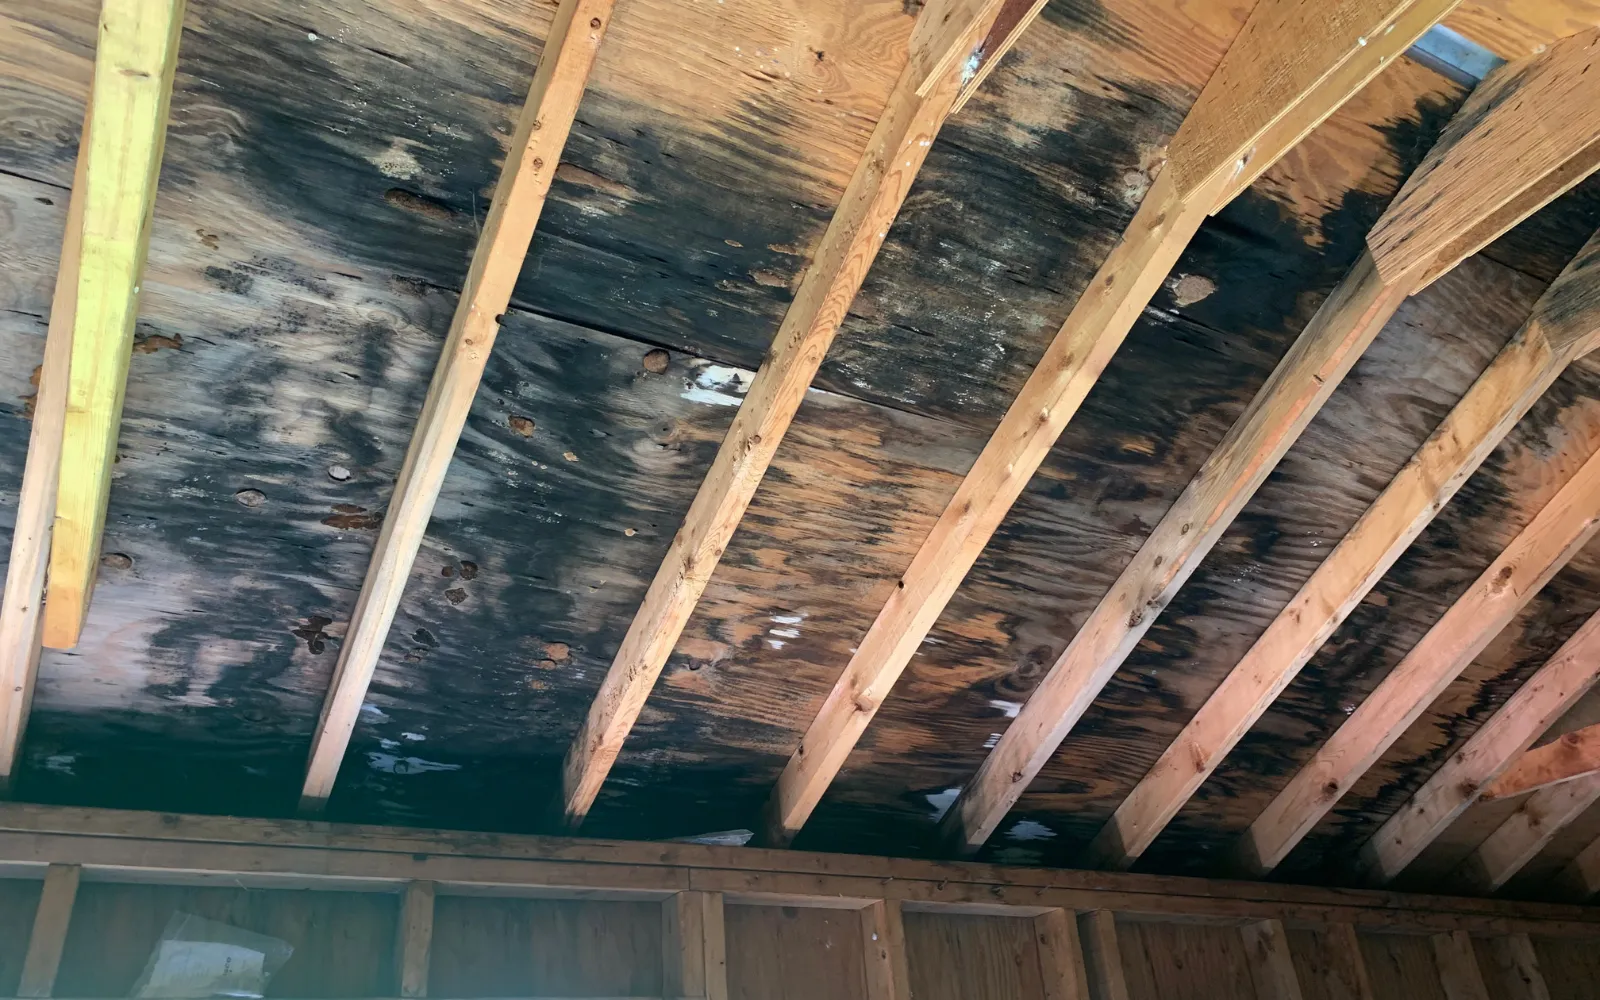
A roof leak is one possible source of attic moisture. Another is moisture-laden air escaping upward from the living space and condensing on cold materials.
Department of Energy insulation guidance explains why attic air sealing matters before adding insulation. Bathroom exhaust ducts should also discharge outdoors, rather than release moisture into the attic.
The assessment should consider roof condition, air leakage, ventilation, and affected insulation together. Replacing insulation without correcting the moisture problem can leave the underlying conditions unresolved. Learn more about mold in attic insulation.
You don’t need to enter an unsafe attic or cramped crawl space to collect evidence. Describe what you’ve noticed and let an appropriately equipped professional assess inaccessible areas.
Include these spaces when discussing your home’s maintenance plan, particularly if previous repairs affected them. Ask which checks you can safely make yourself.
Concerned about a damp basement, crawl space, or attic? Arrange an assessment with Spotless and get clearer advice on what needs attention.
Before Rebuilding, Check That the Problem Is Resolved
After disruption, equipment noise, and exposed walls, wanting your house back to normal is understandable. Tina sees how that pressure can lead people to rebuild before they’ve answered important questions.
“So you’ve got to make sure you take the time before you rush to put the home back together.”
Tina Craig
For mold prevention, this stage deserves the same attention as the initial cleanup. Once new drywall and finishes go in, investigating anything missed can become more disruptive.
Use the period before reconstruction to ask:
- What’s been repaired? Identify the moisture source and confirm which contractor completed the necessary work.
- Were there other concerns? Ask whether opening the area revealed additional dampness, damage, or building defects.
- What’s been cleaned or removed? Understand the scope of remediation and whether any affected materials remain to be addressed.
- How was drying checked? Ask about appropriate material-moisture measurements, the drying criteria used, and whether those criteria were met.
- Is more specialist work outstanding? Coordinate plumbing, roofing, foundation, insulation, or other repairs before access is closed off.
- What needs maintaining afterward? Get clear instructions for equipment, monitoring, and any recommended follow-up.
Ask for an explanation you understand. “It looks dry” and “the equipment has been here for several days” don’t explain the condition of concealed materials. A room’s smell alone can’t confirm that remediation is complete either.
If stains remain, ask what they represent and whether the material has been appropriately assessed. Color alone can’t establish whether mold is actively growing. Equally, painting over a mark doesn’t demonstrate that the moisture or contamination problem has been resolved.
Keep the records you’re given: repair details, photographs, drying information, and maintenance instructions. They can help explain the history if a different contractor works on the property later.
After reconstruction, keep watching for changes. Check previously affected areas after heavy rain, maintain dehumidifiers and drains as instructed, and investigate new musty smells or dampness promptly.
In the interview, Tina also stresses that owners may know very little about what happened during their home’s construction. You can’t change that history, but you can document what’s discovered now and use that information when planning repairs. Ask whether any findings change the reconstruction plan before work resumes.
The goal is a manageable routine, with responsibilities you understand. You shouldn’t have to guess whether an unresolved item belongs to the remediation contractor, another trade, or your ongoing household maintenance.
Before new drywall goes up, ask Spotless what moisture checks and follow-up steps are appropriate for your property.
Keep Moisture Control Part of Your Home’s Routine
You don’t need to become a building expert to take mold prevention seriously. Start with what you can observe: leaks, condensation, musty smells, humidity readings, and changes around areas that have been repaired.
Tina’s advice throughout the interview is to give the investigation and repairs enough attention. Take new concerns seriously, bring in the appropriate professionals, and avoid rushing past questions simply because you’re ready for the project to end.
Thorough remediation, appropriate drying, necessary repairs, and ongoing moisture control all contribute to preventing another problem. No single reading or piece of equipment explains everything happening in a home.
If mold has returned, or you’re dealing with water damage and aren’t sure what should happen next, Spotless can help you understand the affected areas and discuss the work your property may need.
For homeowners in Lexington and Central Kentucky, contact our team to talk through what you’ve noticed and take the next step with clearer information.
Spotless is the most trusted name in restoration in central Kentucky including Lexington, Nicholasville and surrounding communities.
Specializing in health-focused mold remediation and water damage restoration, we leave mold-affected clients with a healthier home.
Call 859-459-0424 and speak to a technician today!